Hi everyone!
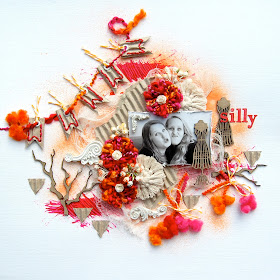
Today I want to share this layout with a tutorial how I altered the Dusty Attic door.
This is what you need:
cardstock
raffia
gesso
crackle clear medium
black ink
heat gun
glue
scissors
step 1: cut a piece of cardstock from about 3x5 inch.
step 2: glue down the raffia
step 3: cover all of the 3x5 piece with raffia
step 4: cut of the raffia
step 5: glue the raffia on the door
step 6: give the door 2 layers of gesso
step 7: give the door a good layer with the clear crackle medium and heat it with the heat gun.
over heat it till you get the bubbles,this will give the door a nice texture.
step 8: ink the edges with the black ink
step 9: add another layer of crackle medium and let air dry.
step 10: again a thin layer of gesso and heat it up a bit so it will bubble a little more.
again ink the edges until you like the total look of the door.
And here is the final result: A great textured door.
Here are some close-ups of my layout:
Added the Dusty Attic door handle plate (painted it once with gesso).
This gorgeous letter box is also from Dusty Attic.
Made the fence from tapas sticks (Xenos). Cut off the forks and painted them with gesso.
Inked the edges and bundled them together with thin white metal thread.
Added some branches. Really love to use them!
Pfffff... are you still awake after this long post?LOL!!
Hope you enjoyed this tutorial as much as I enjoyed making it!
Have a wonderful, sunny and creative weekend!!
Hugs,
Ingrid xxx


